I like my money right where I can see it! Hanging in my closet. – Carrie Bradshaw
Shopping is kind of my business. (Well, vintage shopping actually IS my business.) I’m a clothing collector. I also have an intense obsession with shoes that began when I started crawling and made a beeline straight to my mother’s shoe closet.
I have a ton of clothes. And shoes. And bags. And hats. And everything else. It’s the culmination and visual representation of my disposable income, as well as my passion. I truly believe that fashion is art, and it was high time my collection had a worthy gallery.
This particular closet makeover took a long time. Two months to be exact. It was a DIY project, so I had to schedule the remodel while also running my online vintage business and publishing the fall edition of VINTAGE fashion magazine.
So while my amazing closet makeover took longer than anticipated, I was very pleased with the end result. Here’s how I did it.
Step 1: Brainstorming Dream Closet Design Ideas
The goal for this project was complete and total closet organization. I wanted to be able to see everything easily – clothes, shoes, accessories, etc. I also wanted to optimize and utilize every square inch of space in the room efficiently.
My closet is a spare bedroom in my Hudson Valley home. Having this kind of space after living in a tiny Manhattan apartment was already a dream come true, but now it was time to turn that space into the ultimate dressing room. I started a “Dream Closet” Pinterest board and began adding inspirational photos and ideas from celebrity closets and even from Mecca itself…the Vogue fashion closet!

Follow this and all of my fashion and lifestyle boards on Pinterest
Step 2: Planning a Closet Makeover On a Budget
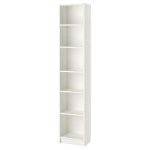
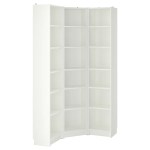
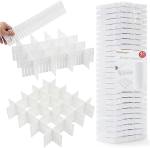
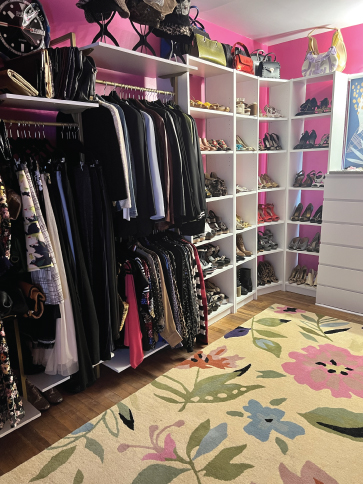
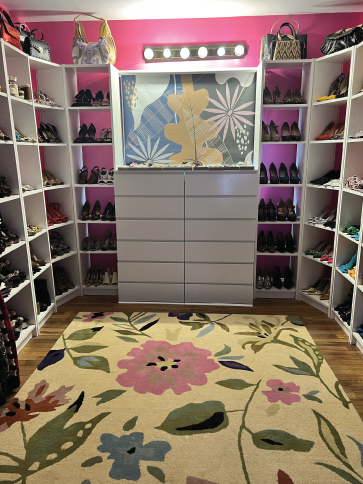
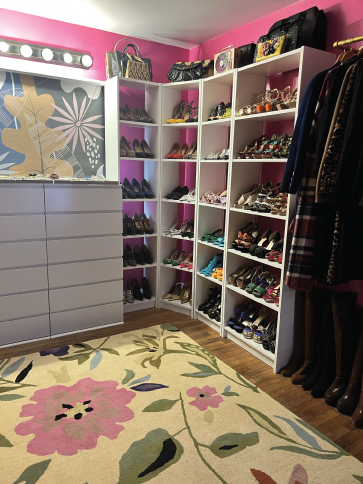
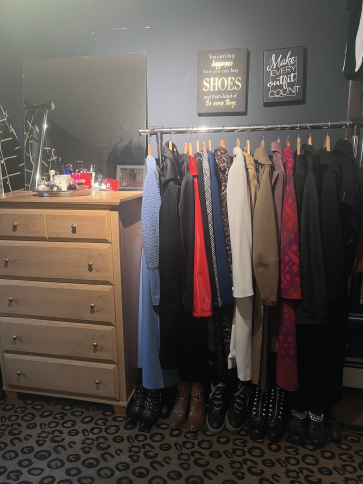
As much as I wanted to have a custom-built closet solution installed, it simply wasn’t in my budget. So I started with what I had: two IKEA Billy bookcases. Lucky for me, IKEA had just reduced the price of their entire catalog, so I ordered two Billy corner units ($130 each) in white and painted the two birch-colored ones I already had white as well. That would take care of shoe storage.
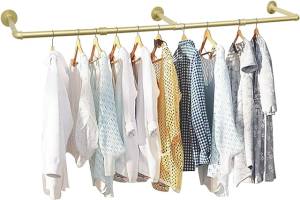
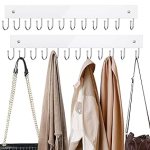
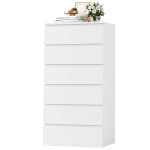
Now I needed hanging racks. I purchased an industrial pipe rack from Amazon for $39 to hang coats and a wall system for $159 for the rest of my clothes. For drawer storage, I ordered two six-drawer dressers from Wayfair for $299 each.
Now that I had the bones of the storage in place, it was time to select a new wall color.

Step 3: Prep & Paint
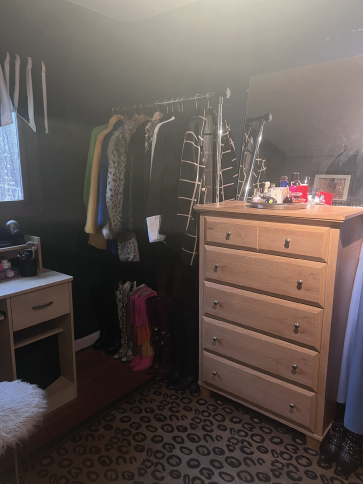
The first thing I had to do was clear out the current space. I set up clothing racks in a spare bedroom and put all of my shoes in large Rubbermaid totes. (I hope they’ll forgive me.)
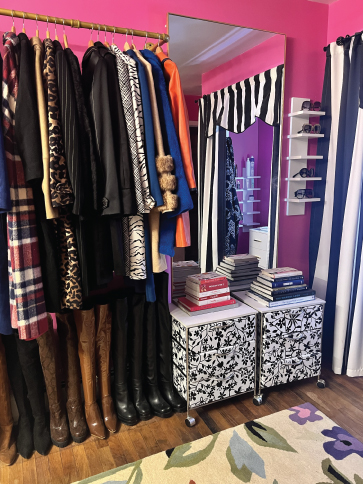
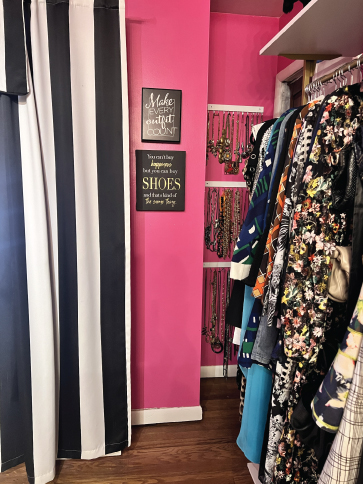
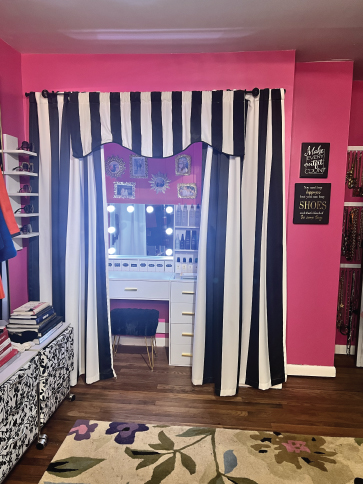
When it came to choosing a new wall color, my inner child was still screaming for the ultimate “Barbie” closet, so I chose Benjamin Moore’s “Spring Azalea” – a lovely and bright magenta pink. It’s extremely high quality paint, but I really should’ve taken the time to prime the walls first because the original paint was a dark navy blue. In the end, it took me four gallons of paint and two sore shoulders to get four walls the perfect shade of pink.
Step 4: Bringing It All Together
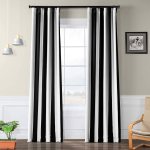
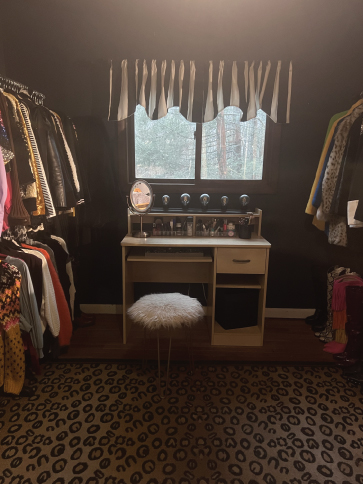
Once the painting was completed and the closet system installed, it was time for accessories. I added a vanity/beauty closet in what was the original bedroom closet, framed by black-and-white striped curtains from Amazon. An oversized floor mirror (also from Amazon) was a must for OOTD photos, and I re-purposed two black-and-white floral rolling carts from The Container Store for extra drawer space. (Unfortunately, these are no longer available.)
A thick floral rug and custom-made window shade (see complete list of everything I purchased at the end of this post) added additional pops of color.
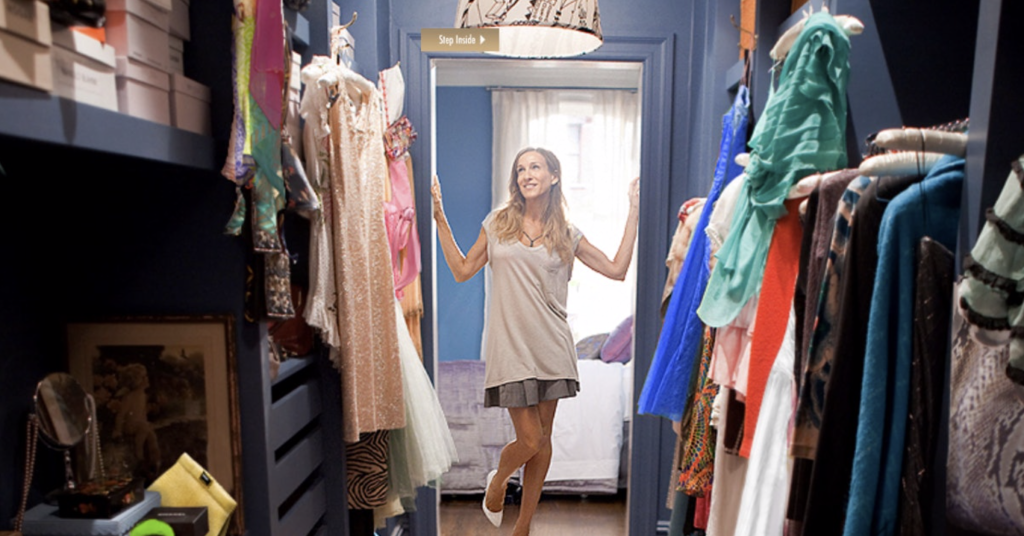
Now, are you ready for the big reveal?
My Modern Closet Transformation: Before & After Photos
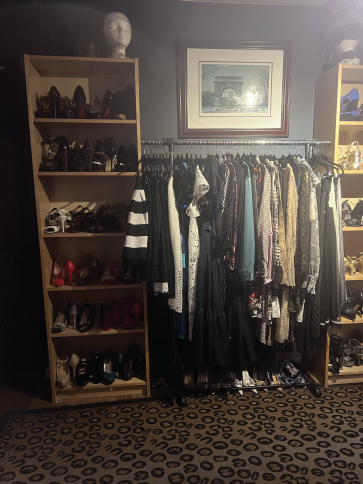
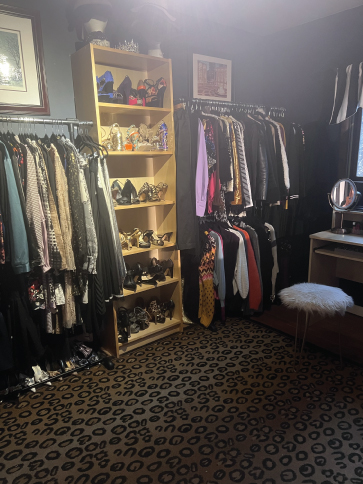
BEFORE
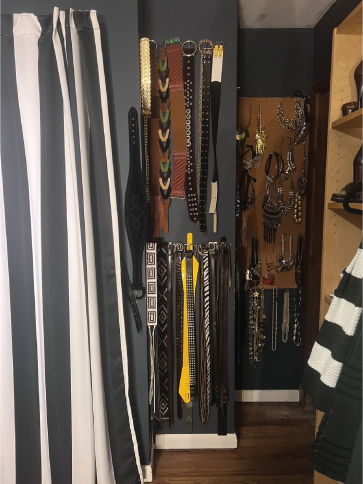
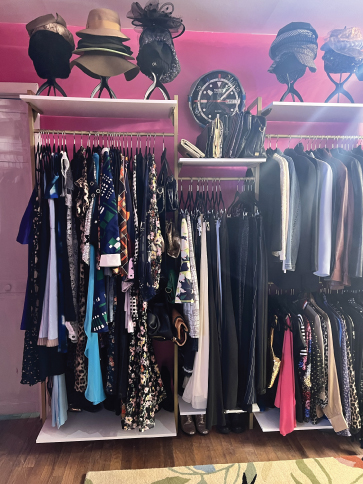
AFTER


Closet Organization, Storage Systems, & Design Accessories I Used For this Makeover